
PS this is a longer post than normal so I recommend reading with a piece of cake and a cuppa :o)
Making The Cake
Dan's party was on Saturday night, so I began making the cake on the Thursday. I didn't have a cake tin big enough, so Melissa and I hopped in the car down to Chatawak, the lovely cake supplies shop in Peacehaven, where you can rent a 12" cake tin for a mere £1.50 per day. I've never made such a large cake before so I wanted to double check with the very helpful owner there as I'd also not tried the recipe before. I was starting to feeling a bit nervous at my inexperience before I'd even started, but I was still up for the challenge). My Home Guide To Cake Decorating has a madeira cake recipe for all cake sizes but for some reason the larger the cake, the smaller the proportion of eggs in the recipe. Also the proportions of self-raising flour and plain flour seemed to be the wrong way round so I asked Sue's advice. She checked against her recipes and said the amount of eggs seemed right but agreed there seemed to be a mistake with the flour and suggested I tried a small test cake swapping the quantities over.
So with added trepidation about the task ahead I went home and cooked a test cake with the tweaked flour quantities. This seemed to work well, but the cake was a little airier that I needed so I upped the proportion of plain flour against the self-raising flour when making the final mixture. I also added the zest of 5 lemons and substituted the milk for lemon juice for extra flavour (in hindsight when I tasted the cake the zest of 8 lemons would have been even zingier). And just to highlight how unprepared I was I didn't even have a mixing bowl big enough, so I mixed the cake in my large Le Crueset casserole pot instead!
When baking the cake I didn't want to take any chances, so I took extra care and double lined the tin with baking parchment and also wrapped the outside of the tin with a few layers of newspaper. To help the cake rise evenly I created a well in the middle of the mix - a tip I learned at pastry school.
As I put the cake in the oven I crossed my fingers, said a prayer to the cake god and hoped for the best. Just over 2 hours later, I was rewarded with a beautiful looking cake:
 |
| Cake just out of the oven |
I left the cake to cool in the tin on a wire rack, but while it was still warm I spiked it all over with a skewer and drizzled over a simple lemon syrup. I reserved a bit of the syrup to add between the layers. The cake was then left to settle overnight (wrapped and left in a cool dry place), which makes it easier to level and cut the layers the next day.
Cutting and Icing The Cake
Scary moment #2 was getting the cake out of the tin without it breaking. For this I decided to place the wire rack covered with baking paper on the top and flip it over. I then had to turn it the right way up again onto a large baking tray covered with foil. This procedure came with the added sound effects of Melissa screeching "Oh my god let me help you!" and similar panicked sounds but they seemed to help as it turned out without any problems.
Luckily the cake had risen pretty evenly so there wasn't much of a dome to level off (I think the well in the middle out really helped). I tried my cake leveller but with such a large cake it was about as much use as a chocolate teapot so I got out my big serrated knife instead which was much better:
 |
| Levelling the cake |
Time for scary moment #3 - cutting the layers. I really wanted to cut the cake into 3 layers but this was quite risky with this size of cake. Having gotten so far without anything going wrong I wimped out and just went for 2 layers. I scored around the edges to make sure it was even, then cut through with my serrated knife, working towards the middle.
 |
| Cutting the layers |
I brushed the exposed layer with the reserved lemon syrup for extra flavour and moistness, then smoothed on lemon curd buttercream:
 |
| Adding buttercream |
 |
| Adding the top layer of cake |
I then covered the outside of the cake with a thin layer of lemon curd buttercream and tried to make it as smooth as possible.
 |
| Adding buttercream to top & sides of cake |
 |
| Coloured sugarpaste |
 |
| Cake covered with sugarpaste |
 |
| Smoothing the sugarpaste |
 |
| Brushing on silver lustre |
Making The Decorations
Time for the fun bit!
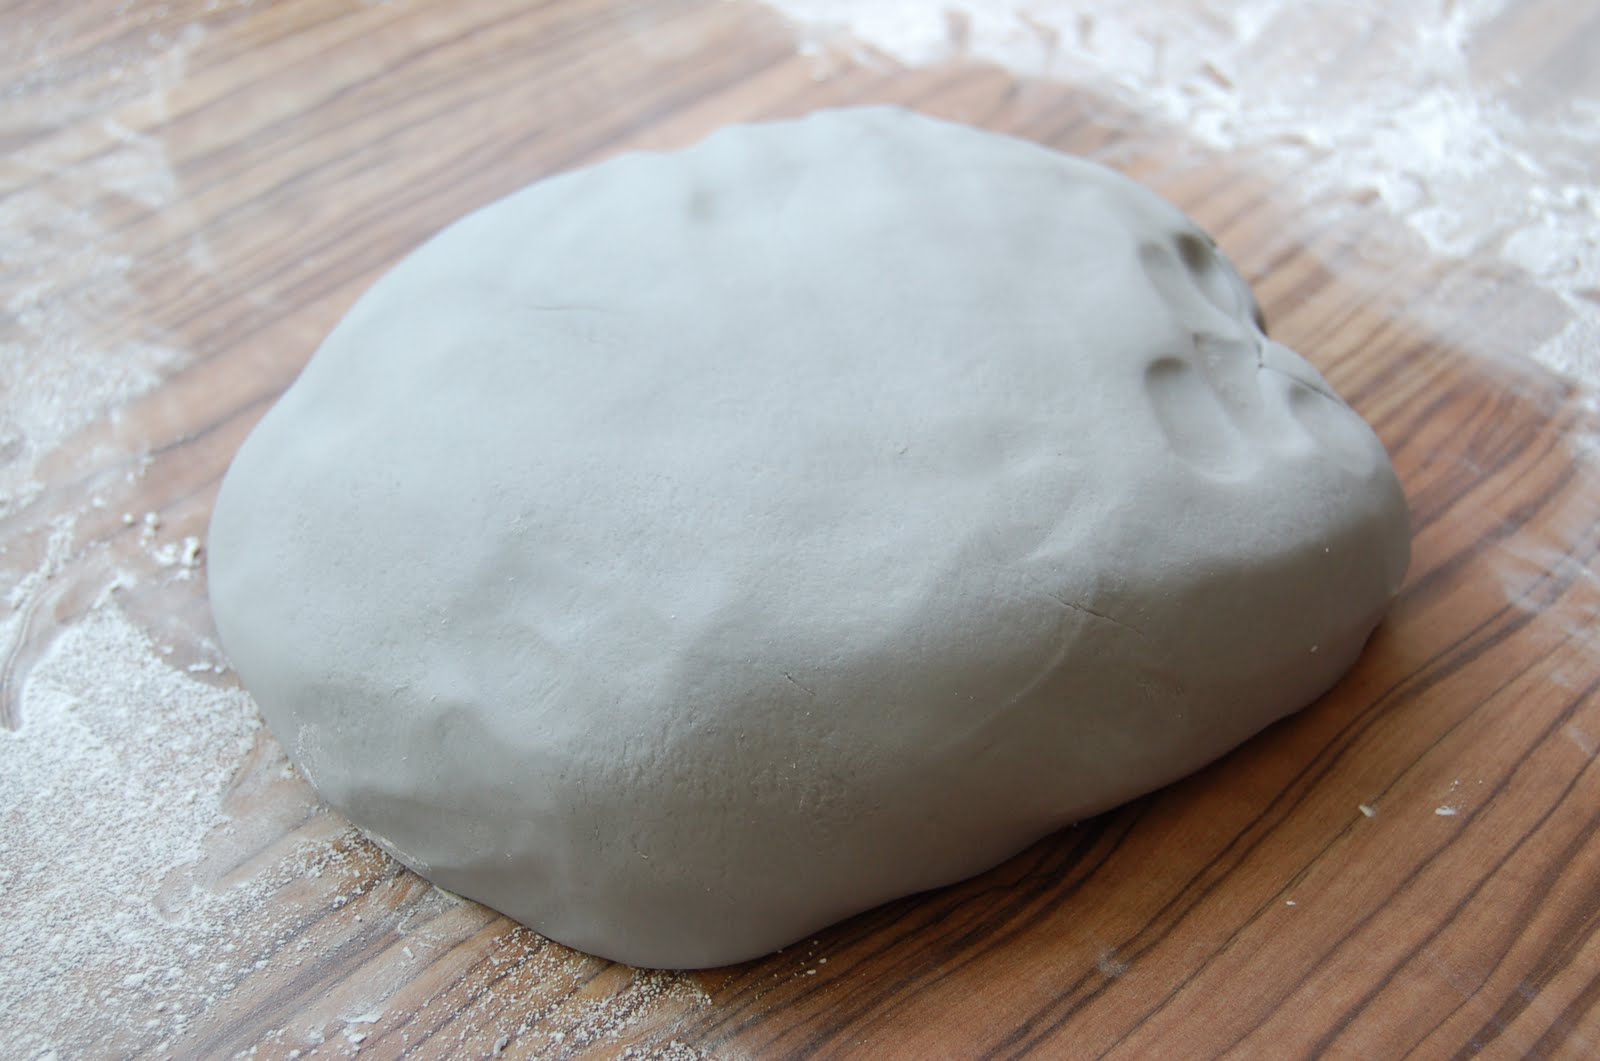
Using the excess grey sugarpaste leftover from icing the cake, I worked in a little gum tragacanth to add strength. I created one knob to use as a template, and when I was happy with the size I rolled out sausages of paste and cut them evenly, using the template as a guide.
 |
| Cutting the mixing desk knobs |
 |
| Creating the ridges |
I also created the sliders using black sugarpaste, again rolling a sausage and cutting even pieces, then shaping using the little knife again. I made 7 in black and 4 in grey, plus one black knob using the same method as before.
 |
| Shaping sliders |
Finally I made 12 small grey jack plugs and 4 slightly larger grey plugs (to fit the red and white component cables) which I painted using the silver lustre mixed with a little gin (mmm - any excuse). Unfortunately I don't have a picture but here they all are on the finished cake:
 |
| Elements for top of cake |
Decorating The Cake
This was the morning of the party and said another prayer to the cake god as there was no time left to bake another one now.
I made up a batch of royal icing and several piping cornets out of silicone paper. I always forget how long it takes to do royal icing, especially when you need several different colours (I used white, red, blue, black, grey and green).
I piped the colours on to the top of the knobs (8 white, 12 red, 12 blue and 6 black) and left to dry before adding a thin line of grey on top to make the dial. The sliders all had a white line piped down the middle. Two of the four component plugs needed royal icing in the centre (1 red 1 white). I also piped the LED display with a grey bar and a red number 40 (as it's Dan's 40th birthday).
Then for the most exciting bit of the whole cake - adding all the decorations and making it come to life!
I used grey royal icing to secure all the elements (that way if any did show underneath it wouldn't be too noticeable). I started at the top with the plugs and then used a pen with edible ink to draw on the model number box. I had based this on Dan's actual mixing desk so I kept the same brand name, but made up the model number to be personalised for him.
 |
| Edible ink pen - my new toy |
 |
| Assembling the final elements |
 |
| Adding the knobs |
Time to stand back and admire my handiwork:
 |
| Final Mixing Desk Cake |
 |
| Mixing desk - profile |
I nearly forgot scary moment #7 - transporting the cake over 70 miles by taxi, train, bus and foot to the party in Soho without it getting damaged. Next time I would really only ever deliver by car - taking it on a London bus can be treacherous but walking about a mile with a cake that is much heavier than you would think in a 16" box is no mean feat.
And scary moment #8 - was Dan going to like it?
Well this was really the best moment of all - he loved it. It went down really well and everyone in the room was watching as I carried it in. Plus it tasted good - what more could I have asked for? All in all I was really pleased it had all gone so well.
Bring on the next one!
4 comments:
Hello, it's my 18th coming up and i'm having a party on the 5th of may and LOVE this cake. I was wondering how much you would charge to make this? My email is dpr621@gmail.com if you could reply to that it would be great. Thank you, David.
Hi!
I too am a Brighton Baker and have been asked to make a mixing desk cake for a 40th too! I love your cake it really looks perfect. Its also amazing to read about your process. I just wanted to ask about the pen you used to write on the cake. Ive had a couple that never really worked and wondered what you used? Thanks B
Hiya sorry I don't remember which one I used but it was white with two ends - one fine and one thick and it had black writing on it. You have to leave the paste to dry out overnight before writing if that helps? Good luck x
Hiya sorry I don't remember which one I used but it was white with two ends - one fine and one thick and it had black writing on it. You have to leave the paste to dry out overnight before writing if that helps? Good luck x
Post a Comment