Friday 22 June 2012

Sewing cake for a crafty bird

Sometimes I think the best cakes are those with lots of details - often it's not the intricacy of each item but having lots of simple details really makes a big impact.  This cake I made for my very good friend Laura I think illustrates this really well:


As you may be able to tell from the theme of this cake, Laura loves making crafty things, particularly bold and striking cushions - take a look at her blog Always Have A Plan B to see some of the beautiful creations she makes.  When her boyfriend Slim asked me to make her 30th birthday cake, we both knew that there had to be some kind of crafty element involved.  I also had to make part of the cake cake gluten free so I suggested a cushion and a gluten free sewing box and Slim agreed it sounded like a great idea.  He sent me some pictures of the cushions she has made but we agreed that rather than copying one exactly, it would be nice to do one in her style.  I was placing an order for some edible butterflies (incidentally for Laura's mum's 60th birthday cake a couple of weeks before) and I saw these edible mexican skulls.  As soon as I saw them I knew I had to find a way of using them in a cake.  I sent the link over to Slim and he said it was just like some material Laura had used in one of her crafty projects as I added them to the order and waited patiently for them to arrive from America.

To carve the cake I followed a tutorial on Cake Central.  I started with a 10" chocolate and Baileys cake which I cut into just two layers and filled with Baileys buttercream - this would give me a handy guide for the halfway point when carving the cake.  The first step was to mark the cake with cocktail sticks one inch in on each side:


This gives you a guide to score a curved line to mark the basic shape:


Then using a large serrated knife held vertically, cut out the curved edge:


From this basic shape I used a serrated knife again to carve the edges to make nice domed top.  Then, carefully flipped the cake over and carved the other side to give a cushion shape:


I was surprised how much smaller the cake ended up once it was carved - if in doubt, start with a bigger cake than you think you need.

Once I was happy with the shape, I covered the top of the cake with a layer of buttercream and covered this with teal coloured sugarpaste and trimmed to the half way mark round the edge- this would be the underside of the cake:


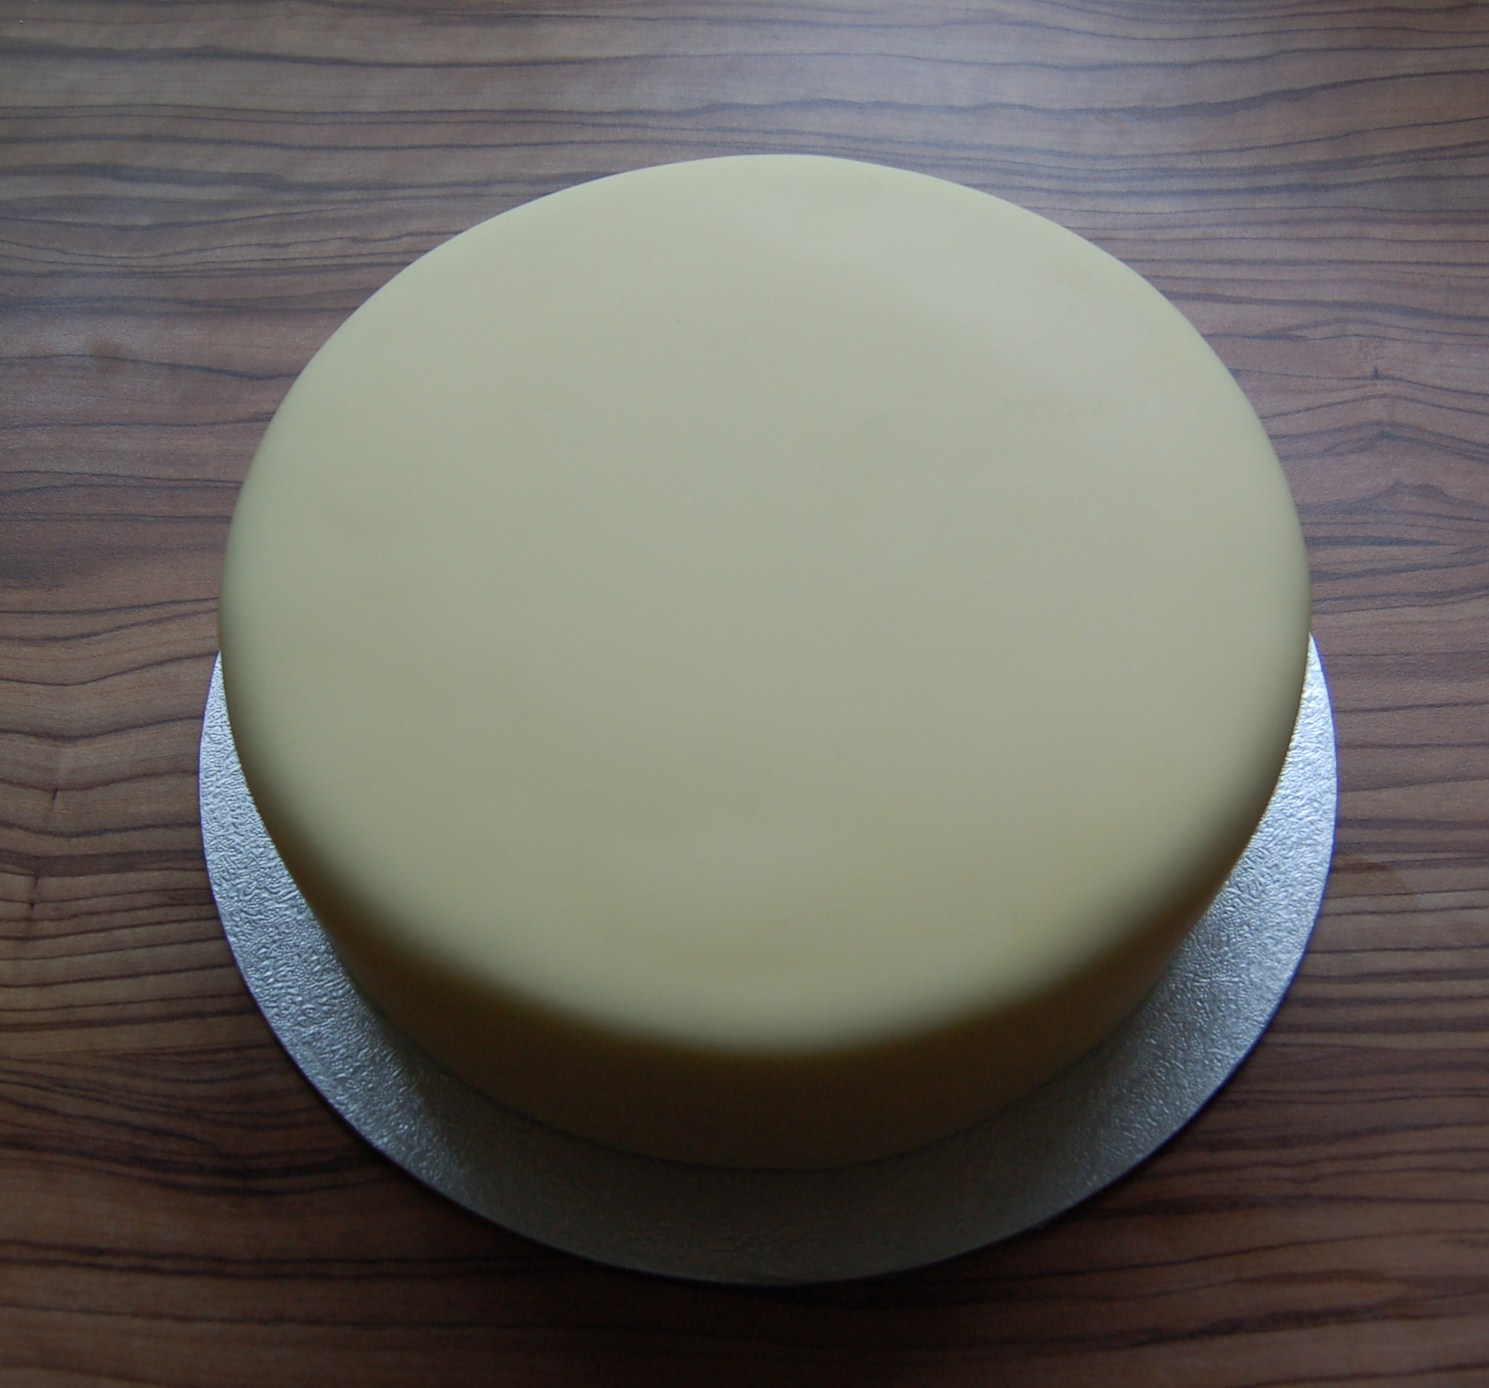
I then carefully turned the cake over again and covered the rest of the cake with a layer of buttercream and the pale yellow coloured sugarpaste for the top:


Using the line of the teal sugarpaste underneath as a guide I trimmed the edges to match and eased together to make a neat join.  I could have used a thin sausage of sugarpaste around the sides to look like piping but that's not Laura's style so it was slightly trickier to make the join clean but it just needed a little patience.

Then to finish the cake, I brushed over the top with pearl lustre dust (anyone that knows Laura knows I had to get some glitter in somewhere!).  I also added a strip of teal sugarpaste which I went over with a quilting tool to look like the stitched hem of the opening for the cushion.  The final touch was to add the skulls using a very thin brushing of edible glue:


Once it was finished I added it to my custom made board:


Next I turned my attentions to the sewing box.  This was a 6" gluten free chocolate and Baileys cake which I cut into two to make the box and lid.  I put the lid on a separate board and covered it to look like a pin cushion top.  I made a ridge round the edge of the box from marzipan and covered this with chocolate sugarpaste to make it look like the inside of the box for the cotton reels to sit in.  I covered the sides with teal sugarpaste and some edible butterflies for decoration:


Then to bring everything together I made lots of cotton reels and buttons to fill the box.  The cotton reels were very straightforward, made from fat sausages of sugarpast that I rolled a knife around to score a pattern to look like thread, then ends were added on using edible glue and short lengths of dried spaghetti.  To make them look like they were inside the box I cut them at an angle before sticking on to the middle of the box.  I rolled a long length of white sugarpaste and drew on numbers and rules to make the measuring tape.  My favourite bit of the whole cake was the scissors that I modelled on my mum's old dressmaking shears - I think they turned out really nicely and looked quite realistic.


The cake a was brought out as a suprise at Laura's birthday barbecue bash and she really liked it.  So often when I make a cake I never get to see the reaction of the person I've made it for and it made my day.  Plus I got to have a slice too, another bonus! 

Tuesday 12 June 2012

Record deck cake - happy 60th birthday Paul!

For my second 60th birthday cake in as many weeks, I was asked to make a cake in the shape of a lifesize record deck, for a man who used to run his own record shop.  I was certainly up for the challenge, although I had to admit to Kathryn who ordered the cake that it wouldn't be LP size, as the biggest cake I could make was only 12" square (anything bigger won't actually fit in my oven). Having said that, a 12" cake serves 72 portions which was more than enough for the amount of people going to the party.  It ended up as a lifesize 45rpm record player instead:


For this cake I tried a new recipe for Chocolate Mud Cake from my Home Guide To Cake Decorating book.  This is a lovely rich moist chocolate cake, and with over half a kilo of dark chocolate, half a kilo of butter and 1.2kg golden caster sugar it's not surprising it tastes good. I added some finely grated orange zest to the cake batter and filled it with my chocolate and cointreau meringue buttercream. Yu-um is all I can say.  And I don't even really like chocolate that much.  (Just in case you're wondering, there are always trimmings of cake leftover when I level the top of the cake, I don't just cut a sneaky slice out of the middle and hope noone notices)

After I had filled and levelled the cake I covered it with a pale yellow sugarpaste.  I worked the edges with my cake polishers to create a sharper edge to look more realistic.  I then left this overnight to firm up.

The next day I started off with creating the turntable.  I found a cake tin with the right proportions to use as a template for the base.  I don't like to use black sugarpaste very much as it has so much colouring in it that it doesn't taste very nice, so instead I created a turntable out of marzipan and covered it with grey sugarpaste brushed with silver lustre to make it look metallic.  I then rolled the record as thin as I could make it from black sugarpaste and added it to the turntable with some edible glue:


Next up was adding the label in a nice bright red and the central spoke which was secured with a short length of dried spaghetti:


I left this to firm up before adding the writing and got on with creating the arm of the player.  For this I used a cake dowel covered with grey sugarpaste and brushed with silver lustre to create the main part of the arm.  I then made the head from black modelling paste and fixed with a combination of edible glue and dried spaghetti.  I think I was a little naive or just plain not thinking properly when I added a needle made from floristry wire - there was no way that that this would hold up the weight of the arm and show on the final cake, duh....  Anyhow, here's the completed arm, which I left upside down overnight to firm up with a ball of clingfilm to support the handle:


The rest of the cake came together fairly easily, with some details added made from black modelling paste.  I also wrote the label was using an edible pen


The trickiest bit was adding the arm.  I made the arm hinge in two parts with a section hollowed out to fit the arm in between:


The final dial was secured to the back using a couple of short lengths of dried spaghetti:


And with that the cake was finished:


But my challenge wasn't over yet.  I seemed to recall saying on more than one occasion that I would never take a big cake up to London on the train and tube again.  I clearly need to listen to my own advice more carefully as this was the heaviest cake I've ever carried, let alone during rush hour and standing waiting at Victoria Station for 20 minutes while they closed the entrance due to overcrowding.  I had given Kathryn advance warning that the cake was heavy, and to prove it I even weighed the boxed cake on our bathroom scales - it came to 1 stone 2.6 pounds, even I was shocked.  It's also darn awkward to carry, I must invest in some kind of cakemobile, at the moment I'm thinking of a suitcase strapped flat to two skateboards and a long handle to keep it travelling level - anyone got any other ideas???

Aside from the awkward journey up to London, it was a sturdy cake and made it there in one piece.  Kathryn collected it and took it home on the bus ready for Paul's party.  She said it was exactly what she'd hoped it would look like.  Paul - I hope you had a fantastic 60th birthday party, sorry we couldn't make it, but hope the cake makes up for it!

Friday 8 June 2012

60th birthday butterfly cake

My dear friend Laura commissioned me to make a gluten free cake for her mum's 60th birthday party.  I was delighted to be asked and even more excited that Laura wanted to use some beautiful and very lifelike edible butterflies she found on Etsy (take a look at Sugar Robot's shop to see the amazing range of cake toppers they have).  In fact the whole design was created by Laura, who wanted a two tiered gold cake with lots of butterflies down the side. All I had to do was recreate her vision.  Here's how it turned out:
 
 
This was a fairly straightforward cake to make as all the impact comes from the butterflies themselves.  I started with an 8" and a 6" round cakes which were gluten free orange and elderflower filled with homemade orange curd Italian meringue buttercream.  Apparently Laura's mum was very intrigued by the sound of my Italian meringue buttercream from reading this blog so if you are reading I hope it lived up to your expectations!
 
I covered each cake with a pale yellow sugarpaste:
  
 
And then brushed on metallic gold lustre dust with a pastry brush.  This is quite a messy job and I seemed to get gold dust over everything (actually this isn't limited to just gold dust in my kitchen...):
  
 
I added some dowels to the lower tier to support the weight of the upper cake:
 
 
In fact as this cake had to travel 200 miles fully assembled I added an extra tall dowel in the middle which went up into the top tier through a hole cut in the cake board.  This made it slightly tricky to assemble the tiers and make sure it was in the middle but it turned out well.  A simple gold ribbon finishes the tiers off nicely:
 
 
Then to start adding the butterflies, which are made out of wafer and are very delicate to work with.  I created a slight crease down the middle and attached with a tiny dab of edible glue applied with a very fine brush.  You have to be careful as if you add too much glue then the butteflies actually melt and tear so there were a couple of casulaties as I got used to working with them. 
 
 
I added the butterflies in diagonal drifts to make sure she size and colours were balanced:


It was tempting to keep adding more, but I felt like this was just the right amount to finish the design:
 
 
The cake then travelled from Brighton up to the Midlands in Laura and her boyfriend Slim's converted ambulance campervan for a big birthday bash weekend.  I packed a few spare butterflies in the cake box just in case there were any casualties.  Luckily it survived the journey and everyone was pleased with the cake at the party.  I can't wish for any more than that - a very happy birthday Laura's mum!