My dear friend Laura commissioned me to make a gluten free cake for her mum's 60th birthday party. I was delighted to be asked and even more excited that Laura wanted to use some beautiful and very lifelike edible butterflies she found on Etsy (take a look at Sugar Robot's shop to see the amazing range of cake toppers they have). In fact the whole design was created by Laura, who wanted a two tiered gold cake with lots of butterflies down the side. All I had to do was recreate her vision. Here's how it turned out:
This was a fairly straightforward cake to make as all the impact comes from the butterflies themselves. I started with an 8" and a 6" round cakes which were gluten free orange and elderflower filled with homemade orange curd Italian meringue buttercream. Apparently Laura's mum was very intrigued by the sound of my Italian meringue buttercream from reading this blog so if you are reading I hope it lived up to your expectations!
I covered each cake with a pale yellow sugarpaste:
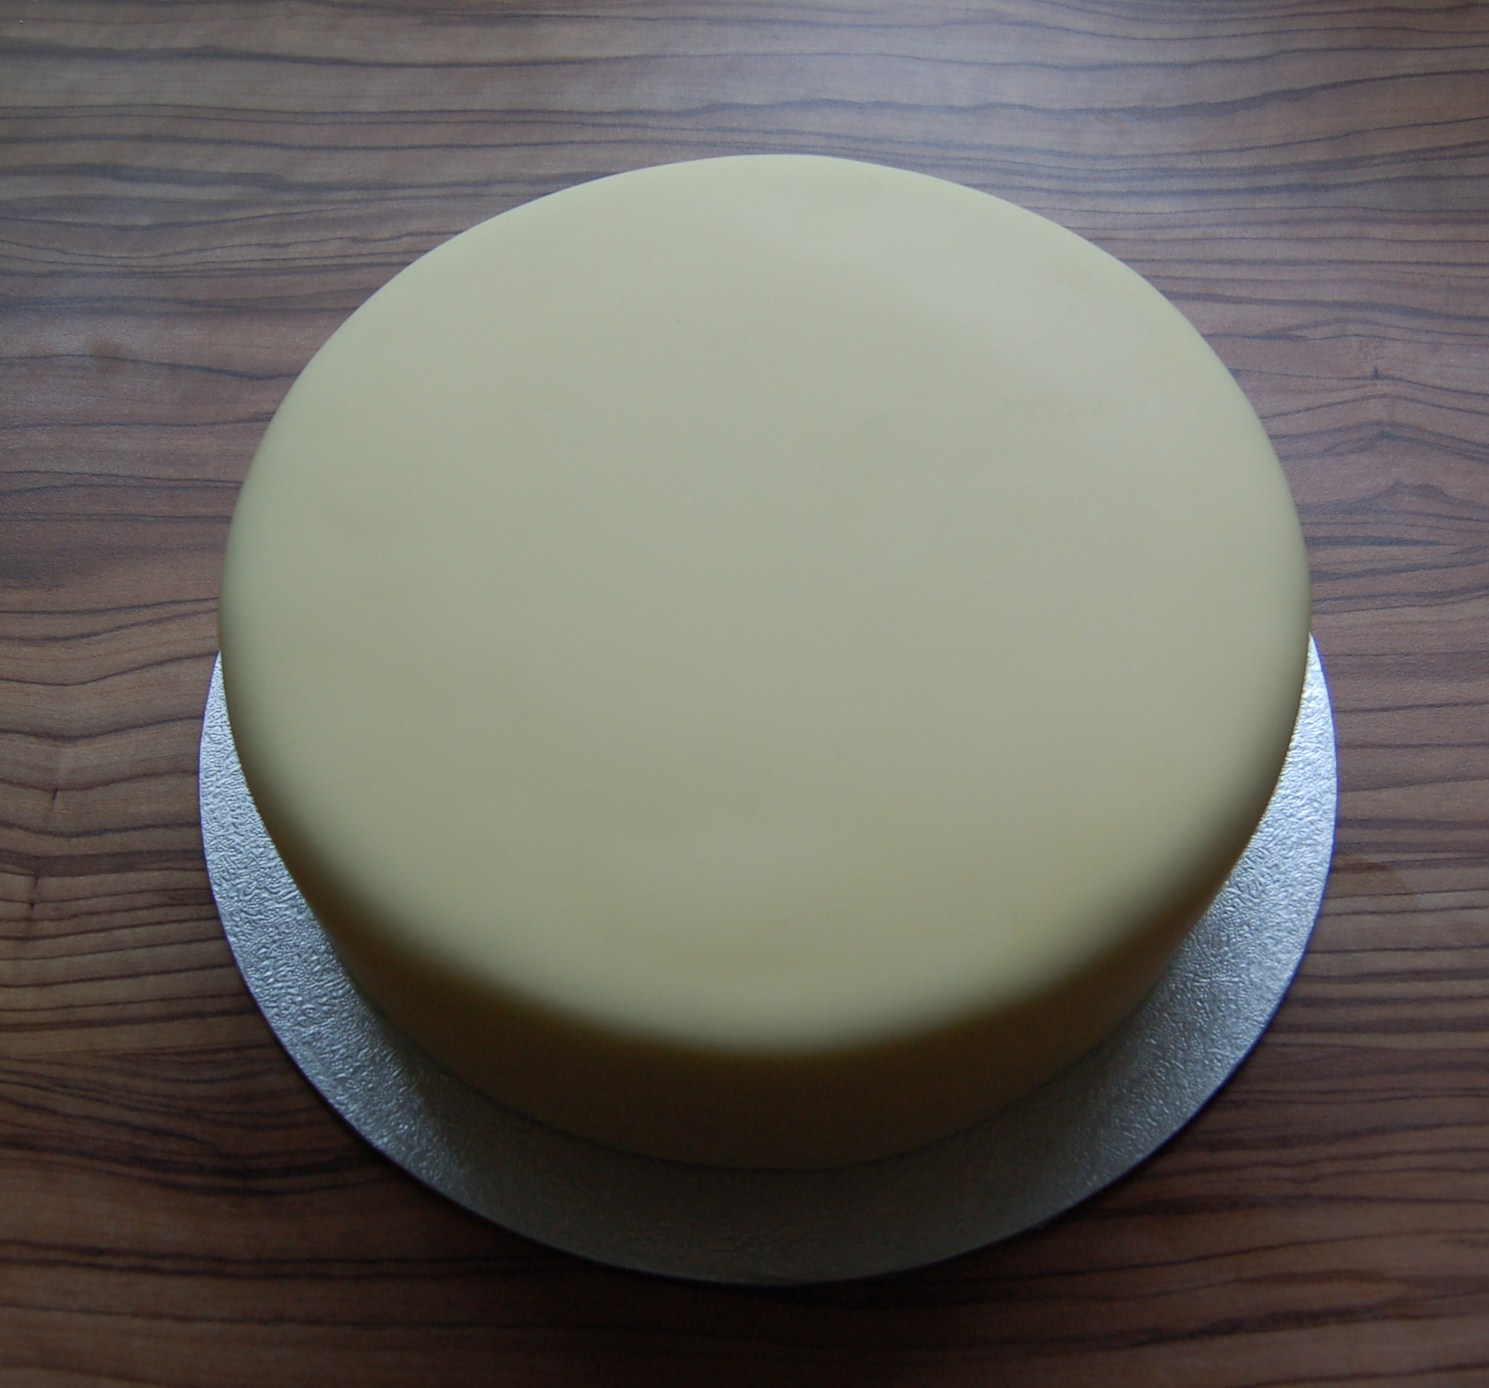
And then brushed on metallic gold lustre dust with a pastry brush. This is quite a messy job and I seemed to get gold dust over everything (actually this isn't limited to just gold dust in my kitchen...):
I added some dowels to the lower tier to support the weight of the upper cake:
In fact as this cake had to travel 200 miles fully assembled I added an extra tall dowel in the middle which went up into the top tier through a hole cut in the cake board. This made it slightly tricky to assemble the tiers and make sure it was in the middle but it turned out well. A simple gold ribbon finishes the tiers off nicely:
Then to start adding the butterflies, which are made out of wafer and are very delicate to work with. I created a slight crease down the middle and attached with a tiny dab of edible glue applied with a very fine brush. You have to be careful as if you add too much glue then the butteflies actually melt and tear so there were a couple of casulaties as I got used to working with them.
I added the butterflies in diagonal drifts to make sure she size and colours were balanced:
It was tempting to keep adding more, but I felt like this was just the right amount to finish the design:
The cake then travelled from Brighton up to the Midlands in Laura and her boyfriend Slim's converted ambulance campervan for a big birthday bash weekend. I packed a few spare butterflies in the cake box just in case there were any casualties. Luckily it survived the journey and everyone was pleased with the cake at the party. I can't wish for any more than that - a very happy birthday Laura's mum!
Showing posts with label italian meringue buttercream. Show all posts
Friday, 8 June 2012
Friday, 16 December 2011
Woodland Animal Cake
For my latest commission I was asked to make a birthday cake for a one year old boy called Albert. His bedroom is decorated with woodland animals so his mum asked me to create something along the same theme as the centrepiece for his first birthday party.
I had so much fun designing this one and creating the cute creatures to go round the outside. Here's how it turned out:
I started with a classic vanilla madeira cake, filled with raspberry conserve and italian meringue buttercream which is just the lightest, super smooth and utterly butterly creamy buttercream you can make. I started making it a couple of months ago - it's a bit fiddly but I will never go back to regular buttercream, it pales in comparison.
Once I had covered the cake with a thin layer of buttercream and cream coloured sugarpaste I had a blank canvas for my design. As I was decorating this cake freehand, without any moulds or cutters, the first element I had to get in place was the tree. I rolled a layer of chocolate brown sugarpaste and used a funky new impression mat I bought which gives a tree grain texture when pressed into the sugarpaste. I then cut out the tree shape freehand. I deliberately made the tree longer at the top and bottom so that I could get it in the right place and then trim to size.
Next I added the grass trim round the bottom of the cake using the same technique as in the footballer cake I made a couple of months ago. It's good to have a pattern, ribbon or trim of some sort to go round a cake as it really finishes it off and also hides any little imperfections that you may have from trimming the sugarpaste that covers the cake.
Then I had lots of fun creating all the woodland creatures that went round the side of the cake. I wanted them to be bold and graphic but not too cartoony. I chose a few complementary colours and made everything freehand as I went along, starting with a cunning fox:
You can just about see the wee hedgehogs on the right. There was also a bluebird flying, a few red toadstools and a badger:
And finished off with another bluebird and an owl on the top of the tree:
I created the texture on the owl's belly using the top of a piping nozzle at an angle. I also used a different piping nozzle to cut the circles for his eyes - I find them so handy and probably use them more for cutting out sugarpaste than for piping!
I then finished off the cake with a big number one and Albert's name. I had planned to write Happy Birthday, but I think it would have looked too crowded and decided it was better to keep it simple:
When I came home the other day the answerphone was flashing with a lovely message from Albert's mum saying how much she had liked the cake and that it really made a great centrepiece for Albert's first birthday party. It's so nice when people take the time to say thank you, I put a lot of love into the cakes I make and it makes it all worth it when you know your creations have made somebody happy.
Subscribe to:
Posts (Atom)