Showing posts with label birthday cake. Show all posts

Tuesday, 12 June 2012

Record deck cake - happy 60th birthday Paul!

For my second 60th birthday cake in as many weeks, I was asked to make a cake in the shape of a lifesize record deck, for a man who used to run his own record shop.  I was certainly up for the challenge, although I had to admit to Kathryn who ordered the cake that it wouldn't be LP size, as the biggest cake I could make was only 12" square (anything bigger won't actually fit in my oven). Having said that, a 12" cake serves 72 portions which was more than enough for the amount of people going to the party.  It ended up as a lifesize 45rpm record player instead:


For this cake I tried a new recipe for Chocolate Mud Cake from my Home Guide To Cake Decorating book.  This is a lovely rich moist chocolate cake, and with over half a kilo of dark chocolate, half a kilo of butter and 1.2kg golden caster sugar it's not surprising it tastes good. I added some finely grated orange zest to the cake batter and filled it with my chocolate and cointreau meringue buttercream. Yu-um is all I can say.  And I don't even really like chocolate that much.  (Just in case you're wondering, there are always trimmings of cake leftover when I level the top of the cake, I don't just cut a sneaky slice out of the middle and hope noone notices)

After I had filled and levelled the cake I covered it with a pale yellow sugarpaste.  I worked the edges with my cake polishers to create a sharper edge to look more realistic.  I then left this overnight to firm up.

The next day I started off with creating the turntable.  I found a cake tin with the right proportions to use as a template for the base.  I don't like to use black sugarpaste very much as it has so much colouring in it that it doesn't taste very nice, so instead I created a turntable out of marzipan and covered it with grey sugarpaste brushed with silver lustre to make it look metallic.  I then rolled the record as thin as I could make it from black sugarpaste and added it to the turntable with some edible glue:


Next up was adding the label in a nice bright red and the central spoke which was secured with a short length of dried spaghetti:


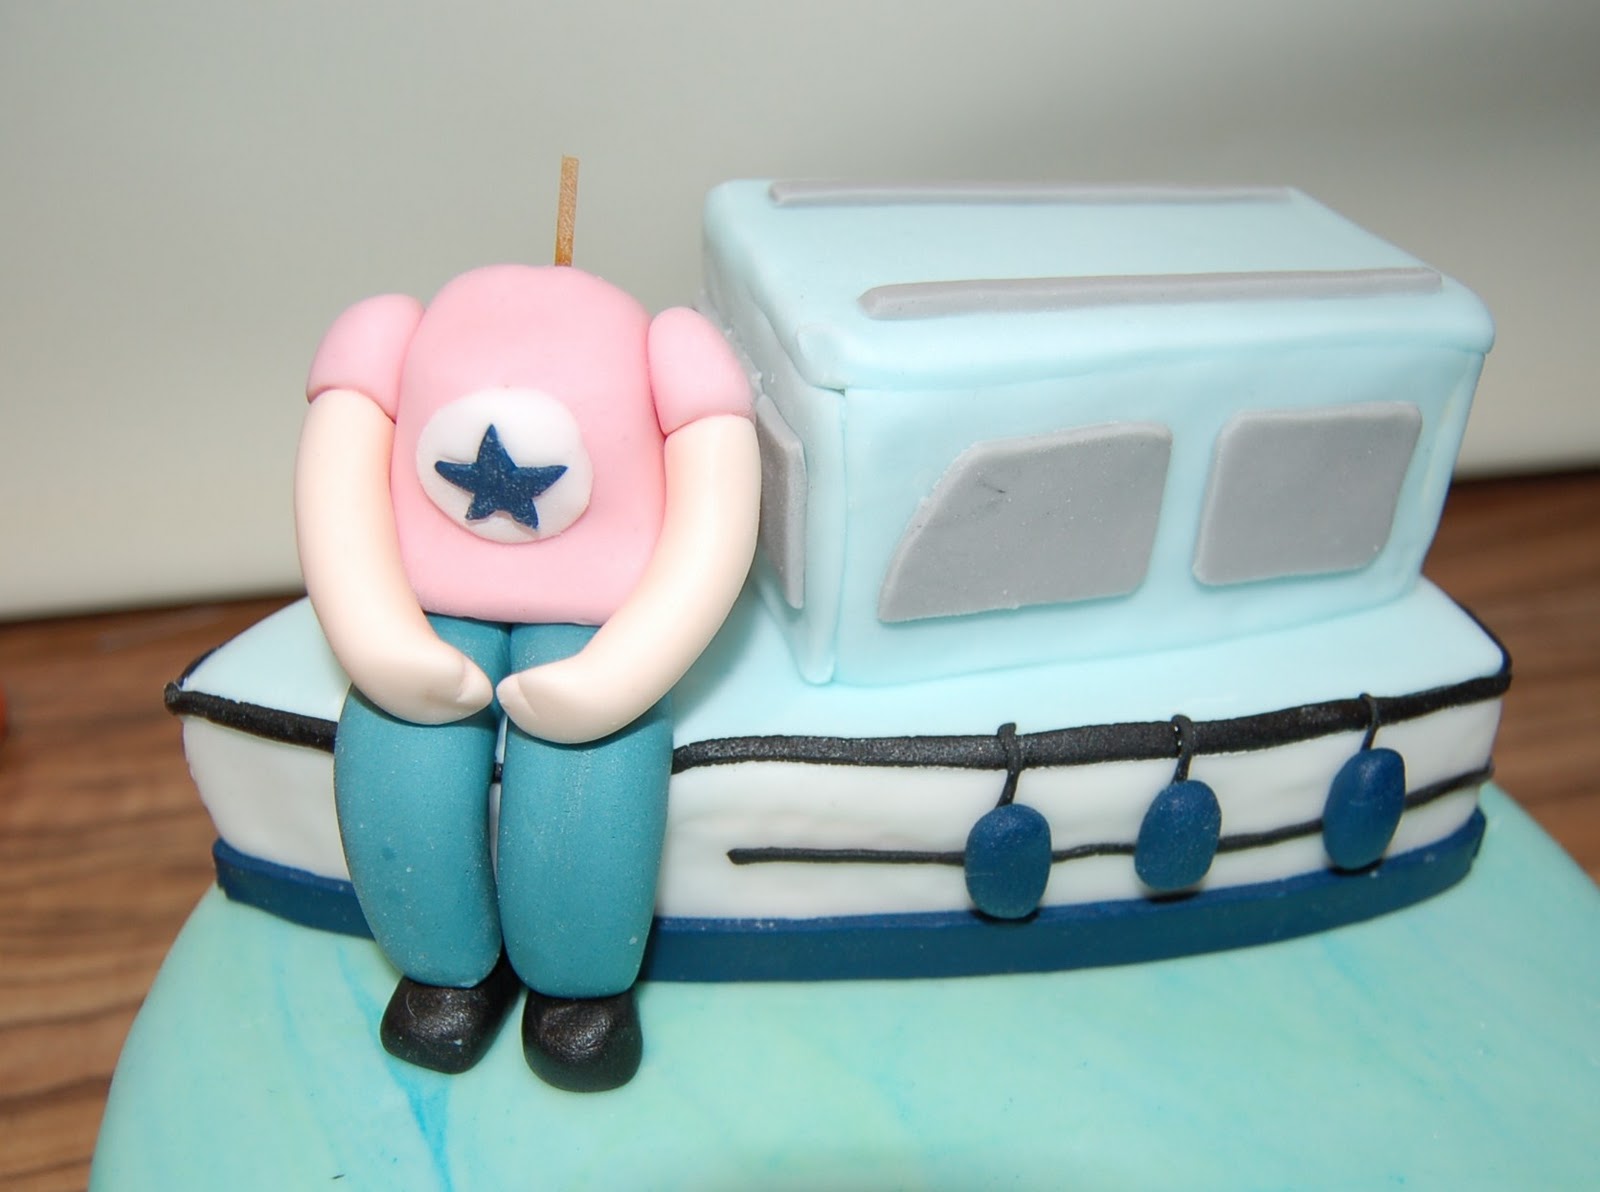
I left this to firm up before adding the writing and got on with creating the arm of the player.  For this I used a cake dowel covered with grey sugarpaste and brushed with silver lustre to create the main part of the arm.  I then made the head from black modelling paste and fixed with a combination of edible glue and dried spaghetti.  I think I was a little naive or just plain not thinking properly when I added a needle made from floristry wire - there was no way that that this would hold up the weight of the arm and show on the final cake, duh....  Anyhow, here's the completed arm, which I left upside down overnight to firm up with a ball of clingfilm to support the handle:


The rest of the cake came together fairly easily, with some details added made from black modelling paste.  I also wrote the label was using an edible pen


The trickiest bit was adding the arm.  I made the arm hinge in two parts with a section hollowed out to fit the arm in between:


The final dial was secured to the back using a couple of short lengths of dried spaghetti:


And with that the cake was finished:


But my challenge wasn't over yet.  I seemed to recall saying on more than one occasion that I would never take a big cake up to London on the train and tube again.  I clearly need to listen to my own advice more carefully as this was the heaviest cake I've ever carried, let alone during rush hour and standing waiting at Victoria Station for 20 minutes while they closed the entrance due to overcrowding.  I had given Kathryn advance warning that the cake was heavy, and to prove it I even weighed the boxed cake on our bathroom scales - it came to 1 stone 2.6 pounds, even I was shocked.  It's also darn awkward to carry, I must invest in some kind of cakemobile, at the moment I'm thinking of a suitcase strapped flat to two skateboards and a long handle to keep it travelling level - anyone got any other ideas???

Aside from the awkward journey up to London, it was a sturdy cake and made it there in one piece.  Kathryn collected it and took it home on the bus ready for Paul's party.  She said it was exactly what she'd hoped it would look like.  Paul - I hope you had a fantastic 60th birthday party, sorry we couldn't make it, but hope the cake makes up for it!

Friday, 8 June 2012

60th birthday butterfly cake

My dear friend Laura commissioned me to make a gluten free cake for her mum's 60th birthday party.  I was delighted to be asked and even more excited that Laura wanted to use some beautiful and very lifelike edible butterflies she found on Etsy (take a look at Sugar Robot's shop to see the amazing range of cake toppers they have).  In fact the whole design was created by Laura, who wanted a two tiered gold cake with lots of butterflies down the side. All I had to do was recreate her vision.  Here's how it turned out:
 
 
This was a fairly straightforward cake to make as all the impact comes from the butterflies themselves.  I started with an 8" and a 6" round cakes which were gluten free orange and elderflower filled with homemade orange curd Italian meringue buttercream.  Apparently Laura's mum was very intrigued by the sound of my Italian meringue buttercream from reading this blog so if you are reading I hope it lived up to your expectations!
 
I covered each cake with a pale yellow sugarpaste:
  
 
And then brushed on metallic gold lustre dust with a pastry brush.  This is quite a messy job and I seemed to get gold dust over everything (actually this isn't limited to just gold dust in my kitchen...):
  
 
I added some dowels to the lower tier to support the weight of the upper cake:
 
 
In fact as this cake had to travel 200 miles fully assembled I added an extra tall dowel in the middle which went up into the top tier through a hole cut in the cake board.  This made it slightly tricky to assemble the tiers and make sure it was in the middle but it turned out well.  A simple gold ribbon finishes the tiers off nicely:
 
 
Then to start adding the butterflies, which are made out of wafer and are very delicate to work with.  I created a slight crease down the middle and attached with a tiny dab of edible glue applied with a very fine brush.  You have to be careful as if you add too much glue then the butteflies actually melt and tear so there were a couple of casulaties as I got used to working with them. 
 
 
I added the butterflies in diagonal drifts to make sure she size and colours were balanced:


It was tempting to keep adding more, but I felt like this was just the right amount to finish the design:
 
 
The cake then travelled from Brighton up to the Midlands in Laura and her boyfriend Slim's converted ambulance campervan for a big birthday bash weekend.  I packed a few spare butterflies in the cake box just in case there were any casualties.  Luckily it survived the journey and everyone was pleased with the cake at the party.  I can't wish for any more than that - a very happy birthday Laura's mum!

Thursday, 5 April 2012

Karaoke Cake - Happy 30th Birthday Jon!

I seem to be riding a wave of 30th birthdays at the moment -  they started to creep up slowly over the last year or so, my own 30th was just six weeks ago, and they still keep coming.  Last weekend was Jon's turn, who is the lovely and supertalented boyfriend of my very good friend Karrie (you can see the cake I made for her 30th here).

Jon chose to celebrate his birthday with a karaoke party so the obvious choice was for me to make him a karaoke themed cake.  I found out from Karrie that they have a very distinctive pink karaoke machine so I  looked up some pictures online and immediately saw it would make a great eyecatching cake.


This was actually quite a straightforward cake to make, but I think its simplicity and boldness makes it a really effective design.  I started off with a square cake in my new favourite flavour - courgette and cinnamon with lemon curd buttercream (and I know I'm tooting my own trumpet here but it's really good!).  I then cut it into a rectangle and covered it with white sugarpaste to make the box.  I made the basic shape for the microphone from marzipan and left it to firm up overnight.  In hindsight I probably should have given the marzipan a couple of days as it was still a little soft but it worked ok.


The next morning I made the dials for the top of the box, by cutting a fat sausage of white sugarpaste into equal slices and then re-shaping a little by hand to make them neat and even like fat extra strong mints:


Easy peasy.  To fix them to the cake I used a short length of dry spaghetti and some edible glue.  The spaghetti probably wasn't 100% neccessary here but as the cake had to make the long trip up to North London on public transport I wanted to make sure that nothing was going to fall off.  A few details with my knife and edible pen and the cake was already starting to take shape:


Next up was the microphone, which was a very fetching tone of pink which needed plenty of colouring paste adding to beef up the colour.  I got to a point where it wouldn't go any more pink so I couldn't quite get it the fluorescent colour of the actual microphone (and to be honest too much colouring might start making you feel fluorescent if you ate too much).  I started by covering the top of the mic, which I did in two halves.  First I painted the top half with edible glue and shaped the pink over the top:


Then I cut round the middle, turned it over and did the same again for the bottom:


Then I added a strip around the middle to cover the join.  I created the textured effect by pressing dimples into the paste with a round ended tool while it was still soft.

I covered the main part of the microphone with the pink sugarpaste and attached it to the top with a piece of dry spaghetti and some more edible glue.  I then rolled a long sausage of black sugarpaste to create the cable and fixed it all together with the same method (who would have thought dry spaghetti would be so useful in cake decorating??)  The cable needed a bit of support while it dried so I propped it up with a small pot to stop it from coming out of the cake.  And with that the cake was finished:


The cake went down really well at the party and it all disappeared within about 10 minutes which is about as big a compliment as I can get.  Happy Birthday Jon, thanks for inviting us to your party - your version of One Week was worth the trip up to London alone :o)

Thursday, 8 March 2012

I'm back... although unfortunately this time it's on the wrong side of 30

Hello again dear readers, sorry for the radio silence over the last couple of weeks!  Thanks to my lovely wife Melissa, I seem to have been able to drag out my big 3-0 birthday celebrations for way longer than I deserve - the highlights of which were an amazing trip of a lifetime to San Francisco and an 80's theme birthday party last Saturday. 
There was much debate on my part, and speculation on the part of others, as to what type of cake I should make for my 30th birthday.  I had some grand plans for a topsy turvy 3 tiered Alice in Wonderland cake, but with only 25 people coming to the party there would have been way too many leftovers for my waistline to handle (and if there is cake in the house, I can't help but eat it).  We also had a few friends coming down to stay with their little ones and I didn't want to spend all my time decorating, so I scaled my ideas back to something simple, but iconic, that would fit in with my 80's party theme.
 
I had the idea of incorporating an 80's computer game, and really wanted to do the NewZealand Story which was my brother's and my favourite game growing up, but I decided that was a bit too obscure and instead went for the classic 80's arcade favourite that everyone would know, Pacman.
 
 
Of course this wasn't just any plain old cake, I wanted to try something a bit different and have a more unusual flavour that maybe people hadn't tried before.  I adapted one of my favourite loaf cake recipes for cinnamon and courgette Cake into an 8" square tin.  Scaling up recipes can be a little tricky, and I was a bit worried how it would turn out as sometimes it doesn't work quite how you expect it to.  Luckily, it baked into a lovely moist cake, although it was a little bit too dome-shaped so I had to trim a lot off the top to make it level.  Next time I'll use less baking powder and either line the outside of the tin (like you would for a Christmas cake) or else I might invest in some of those bake even strips.  Needless to say that the leftover cake trimmings didn't go to waste....
 
I decided to fill the cake with my favourite icing - Italian meringue buttercream laced with lemon curd.  The 45 minutes it takes to make it is SO worth it, I can't get enough of the stuff, and it was the perfect combination with the cinnamon and courgette cake which has lemon zest running through it. 

I covered the cake with a light grey sugarpaste, followed by a very thin square of black sugarpaste and a grey button to make it look like an 80's computer monitor:
 
 
Next I rolled very thin sausages of blue sugarpaste to make the lines.  I know that to be 100% authentic, these should have been double lines, but sometimes it's better to capture the essence of what you are recreating rather than an exact copy.  Well that's my reasoning anyway!
 
 
 Next up was my favourite bit, the monsters!  I cut these freehand and added tiny circles of white sugarpaste for the eyes, finished off with edible black pen for the pupils.  I love how they look in the direction they are moving:

 
Then to finish the cake off, I needed to add the dots.  I had originally planned to use royal icing, but I find it really annoying to make and I had also uncovered some silver dragees in my decorating box and thought they would be perfect.  And very reminiscent of 80's party cakes.
 
 
I have to say that the cake went down really well at the party (although maybe that's due to the amount of homebrew people had consumed...), in any case, the birthday girl was very pleased with it, and I've saved the final piece for my 11 o'clock treat tomorrow.
 
 
I'm also very happy that although I may have turned 30 and should officially have grown up by now, I can still have a big kid's birthday cake :o)

Friday, 16 December 2011

Woodland Animal Cake

For my latest commission I was asked to make a birthday cake for a one year old boy called Albert.  His bedroom is decorated with woodland animals so his mum asked me to create something along the same theme as the centrepiece for his first birthday party.
 
I had so much fun designing this one and creating the cute creatures to go round the outside. Here's how it turned out:


I started with a classic vanilla madeira cake, filled with raspberry conserve and italian meringue buttercream which is just the lightest, super smooth and utterly butterly creamy buttercream you can make.  I started making it a couple of months ago - it's a bit fiddly but I will never go back to regular buttercream, it pales in comparison.
 
Once I had covered the cake with a thin layer of buttercream and cream coloured sugarpaste I had a blank canvas for my design.  As I was decorating this cake freehand, without any moulds or cutters, the first element I had to get in place was the tree.  I rolled a layer of chocolate brown sugarpaste and used a funky new impression mat I bought which gives a tree grain texture when pressed into the sugarpaste.  I then cut out the tree shape freehand.  I deliberately made the tree longer at the top and bottom so that I could get it in the right place and then trim to size.
 
Next I added the grass trim round the bottom of the cake using the same technique as in the footballer cake I made a couple of months ago.  It's good to have a pattern, ribbon or trim of some sort to go round a cake as it really finishes it off and also hides any little imperfections that you may have from trimming the sugarpaste that covers the cake.
  
Then I had lots of fun creating all the woodland creatures that went round the side of the cake.  I wanted them to be bold and graphic but not too cartoony. I chose a few complementary colours and made everything freehand as I went along, starting with a cunning fox:
 
 
You can just about see the wee hedgehogs on the right.  There was also a bluebird flying, a few red toadstools and a badger:
 
 
And finished off with another bluebird and an owl on the top of the tree:
 

I created the texture on the owl's belly using the top of a piping nozzle at an angle.  I also used a different piping nozzle to cut the circles for his eyes - I find them so handy and probably use them more for cutting out sugarpaste than for piping!

I then finished off the cake with a big number one and Albert's name.  I had planned to write Happy Birthday, but I think it would have looked too crowded and decided it was better to keep it simple:


When I came home the other day the answerphone was flashing with a lovely message from Albert's mum saying how much she had liked the cake and that it really made a great centrepiece for Albert's first birthday party.  It's so nice when people take the time to say thank you, I put a lot of love into the cakes I make and it makes it all worth it when you know your creations have made somebody happy.

Monday, 28 November 2011

Dr Who Tardis Cake - Happy Birthday Lula

Last week set a pretty impressive record for the furthest distance anyone has travelled for a Brighton Bakery cake.  A very nice man called Phil lives in Rome found us online and ordered a cake for his goddaughter's birthday.  Unfortunately I couldn't persuade him to cover the plane fare for me to deliver it to him in Italy  as he was coming to Brighton for the birthday party that just so happened to be only two streets away from us.

The birthday girl Lula is a big fan of Doctor Who, and after discussing a few ideas Phil decided to go for a cake in the shape of the Tardis:


I was really looking forward to making this one, but it wasn't quite as easy as I thought it would be. 

I started off with an 8" square chocolate cake, which I levelled and filled with chocolate buttercream:


I put the cake in the fridge for a couple of hours to firm up so that it would cut more easily.
I then made a template for the shape of the Tardis and used it to cut the cake:


And then used the offcut to create the top:


I created a a base out of card covered with foil the same shape as the Tardis, and secured the pieces of cake with buttercream:


Then it was time to get busy with the buttercream, which I smoothed in a thin layer all over the cake so that the sugarpaste would stick.  The cake then went into the fridge to firm up for an hour or so.


Meanwhile I coloured the sugarpaste and covered the board.  I wanted it to look like the Tardis was flying through space so I mixed several different colours into the black to create a marbled effect, although the predominant colour that came out when I rolled it was the white which looks like a cloud of smoke which I quite like:


Once the buttercream on the cake had firmed up I covered it with a layer of blue sugarpaste and trimmed the edges:


I then created panels for each of the sides and the top and cut out rectangles.  This was much trickier than I thought it would be as sugarpaste pulls out of shape when you cut it with a knife, and if you use a cutting wheel it is very difficult to get neat corners.  I wish I had a rectangular cookie cutter as I think that would have been the best tool for the job.  I fixed the panels on with edible glue and added in the windows and the poster which had the tiniest writing I've ever done on a cake before.


The finishing touches I added were a base, the light on top of the Tardis, which was secured with a short piece of dry spaghetti, and the black sign for each side.  I painted on the writing on the sign with Superwhite powder mixed with a tiny amount of vodka.


And to finish the cake off, I added some silver lustre dust and red glitter to give it a little space sparkle:


Even though it took longer than I thought it would, I love making 3D cakes and think it turned out well.  I hope Lula liked her birthday surprise of her own personalised Tardis and had a very happy 10th birthday.

Monday, 21 November 2011

Freddie Mercury Cake

Last Monday I had a bit of a disaster day.  I still freelance at my old job in London, and on the train in on my way to work I realised I had forgotten my glasses.  It was too late to go back and I can't see the computer screen without them, so I did a mad dash to Specsavers to get my prescription and see if I could pick up some cheap reading glasses before I got to the office.  After a rush around 3 different opticians it wasn't to be as my prescription is too specialised and has to be ordered in.  So I went into the office anyway to pick up my dunce's hat and a few instructions from my boss so that I could do some work from home.  I got back on the train down to Brighton, hopped on the bus to Kemptown and then as I was walking up the big hill home I realised that Melissa had taken my keys when we travelled in together that morning. GGGHHHHAAAHHH!  Exasperated, I walked to Brighton Police Station who were very helpful, and an hour later, along with two kindly neighbours they eventually helped me break into my own house.  Ridiculous!

I closed the front door behind me and caught my breath.  On the hall table next to the spare set of keys and my glasses case, the answerphone was flashing with a message from a lady called Jennie in Oxfordshire who wanted a cake for her son's 40th birthday on Saturday and could I call her back.  Well Lady Luck must have been feeling guilty.  I composed myself and called her back, and took down the details of the order.  There was a slight pause on the phone and the lady said there's a theme for the party - the Queen.  Interesting... running through my mind were thoughts of regal cakes, crowns and thrones.... then as she was talking I realised it wasn't the Queen, but the band with Freddie Mercury.  I had to smile, as my good wife also has a habit of putting a 'the' in front of band names and TV shows when there isn't meant to be one.  My suggestion for the design was to have a white cake with black diamonds round the edge to reflect the harlequin outfit Freddie used to wear, then a silhouette of Freddie in an iconic pose with the Queen logo in gold lettering.  Jennie loved the idea and all was set.

For what seemed like quite a simple cake, it actually took me a lot longer than I thought it would.  First I googled the images of the Queen logo and the Freddie silhouette, then worked in Photoshop to resize and fit to the shape of the cake.  I printed this off and cut out the image and letters as templates to cut around in sugarpaste.  This seemed to take hours - the letters were so fiddly, the paper kept moving, the paste pulls when you cut it so it's actually quite difficult to cut them out.  Maybe I should have just piped the logo on!

Then creating all the diamonds to be just the right size to fit nicely round the sides of the cake took a few goes to get right.  But when the cake was done it looked really good - simple, iconic and classic.  I took a quick picture on my phone and fully planned to take proper photos for the website the next day before delivering the cake in the afternoon.


Unfortunately as Melissa and I went shopping in town on Saturday I completely forgot about taking the website photos.  Another headsmacking moment of stupidity and frustration.

When I delivered the cake, Jennie loved it and said ooh aren't you clever.   I just smiled and said thank you.

Tuesday, 15 November 2011

Fishing Boat Cake - here's how I did it...

I was really pleased to be asked to make this cake by Clair, who wanted a special cake as a surprise for her partner's Alison's 40th birthday.  A few weeks ago I met up with Clair for a consultation with a few ideas in mind - I thought it would be cute to have a sand beach at the bottom, with crabs, starfish, oysters and a chocolate wooden fishing boat on top.  But after speaking to Clair, I realised that I had been rowing down the wrong river, as they love to fish in their white Hampton boat on the Norfolk Broads, where at the bottom the river is nothing but weeds!  So a couple of dodgy sketches later (luckily my cake decorating skills are better than my drawing skills) we had the design nailed and I was really looking forward to making the cake.  This is how it turned out:


The cake started with an 8" round zesty lemon madeira cake, which I filled and covered with lemon curd buttercream and left to firm up in the fridge for an hour or two. 

To create a water effect for covering the cake, I mixed pieces of white, dark blue and green sugarpaste into some pale blue sugarpaste and kneaded it together. I didn't knead it too much so that when I rolled it out it had a nice marbled effect:


Then covered the cake, smoothed the sides with a polisher and trimmed off the excess:


I then left the covered cake in a cool dry place while I made the boat. I made this out of Rice Krispie Treats (recipe here) and carved into a boat shape:


I covered with a thin layer of buttercream and then with sugarpaste on all sides to finish it off:


I did the same with the cabin and fixed to the cake:


At this stage I did worry a little that the boat was oversized, but it needed to be this big in order to take the figure and it matched the proportions on my sketch so I carried on and added the keydetails to match Clair and Alison's own boat:


You can also see in the background the 3D '40' I made out of orange modelling paste.  I added some nylon thread for a fishing wire to the 4 and left a long end for it to be attached to the fishing rod later. 

Next up was making the figure, which I decided to make straight onto the cake itself.  The figure was deliberately out of proportion with the boat as this makes a stronger design for the cake as a whole.  I find that often when designing cakes it's better to take key elements to give the essence of what you are portraying, rather than sticking rigidly to exact dimensions.

Using modelling paste (which is simply sugarpaste with some gum tragacanth added and left overnight) I started with the legs.  These are made from a long sausage shape, with a notch cut from the middle and brought together.  Further notches are cut from the back of each leg so they bend at the knee:


I made a body from a cone shape made out of pink modelling paste and secured the legs and body to the boat with a piece of dry spagetti straight down the middle:


The shoes were added with short pieces of spaghetti and edible glue and the star design on for the t shirt was also attached with edible glue.

I then added arms and sleeves with my favourite spaghetti and edible glue trick:


Ooh I love it when sugarpaste figures start to come to life!

Next I added the head and hair, which was made by pushing sugarpaste through a garlic press and cutting to length. 

I sprinkled pearl lustre dust on the orange 3D '40' and cut at an angle to make it look like it was being fished out of the water.  I secured these to the cake using lengths of dry spaghetti. 

The fishing rod was made from a length of floristry wire covered with chocolate sugarpaste.  I made sure the wire had an extra inch or two at the bottom to fix straight into the boat between the legs of the figure.  The tricky thing was securing the end of the fishing wire to the top of the rod and keeping it taught.  Sometimes gravity just doesn't like me.


And to finish it off, I added river weed details all the way round the sides of the cake and a wooden sign reading "Happy Birthday Alison" made out of chocolate sugarpaste.


Fishing boat cake - done!

The cake was collected the next day by Clair's sister in law and kept under wraps for a big surprise at the party, so I had to keep my fingers crossed that both Clair and Alison would like it.  Later that day I got a text from Clair to say "The cake has been unwrapped and it was fabulous, absolutely perfect, Alison loved it and it tasted so nice, a great success, thank you so much."

I can't really ask for much better than that.